how solar panels work&clean photovoltaic solar panels significance?
When it comes to exploring the field of renewable energy, solar panels are undoubtedly a striking star product. This device, which absorbs sunlight and converts it into electricity, not only provides us with a clean, renewable and environmentally friendly energy solution, but also indicates the broad prospects of future energy transformation. However, in order to ensure that the solar panel can continue to work efficiently, regular cleaning and maintenance is particularly important, and this is where the solar panel cleaning brush comes into play.

How solar panels work?
1.solar panel junction
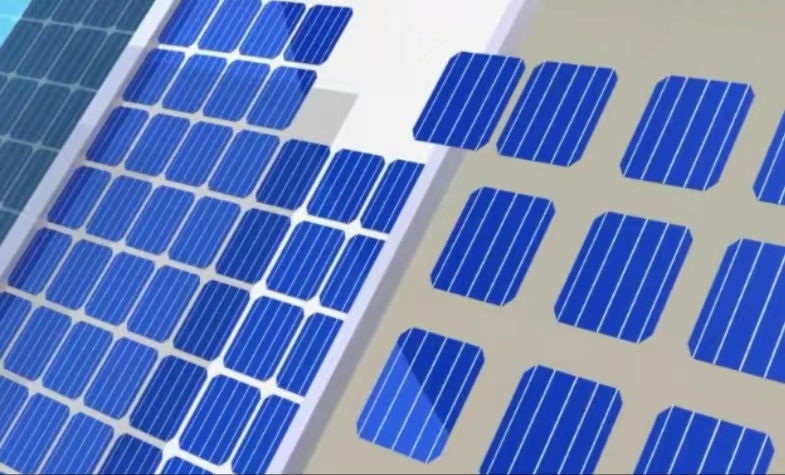
If you look closely at a solar power panel, you will see that it consists of many small dark blue pieces arranged in a regular pattern, these small pieces are solar cells!

2.Materials for solar cells
Solar cell wafers are typically manufactured using the semiconductor material silicon. Silicon is an extremely common element, usually found in nature in the form of complex silicates or silicon dioxide.
Widely found in rocks, gravel, and dust, more than 90% of the Earth’s crust is silicate minerals, making silicon the second most abundant element in the Earth’s crust (about 28% by mass)
3.Solar Cell Production Process
During the production process pure silicon rods are made into rectangular shapes and then cut into 1mm wafers. However, the cut wafers do not generate electricity, they need to be coated with an anti-reflective layer that ensures maximum absorption of sunlight, minimizes reflections and maximizes energy conversion.

4.How Solar Cells Work
Solar cells work on the basis of the movement of electrons and holes in a material with a P-type layer at the bottom and an N-type layer at the top. When these two layers are combined, they form a PN junction.

5.Structure and function of P- and N-type layers
To understand P- and N-type layers, let’s start by familiarizing ourselves with the structure of silicon; each silicon atom has four electrons in its outer layer, and for P-type layers, the silicon is doped with boron atoms, which have one fewer electron than silicon. When boron atoms replace some silicon atoms in the lattice, they create holes where the electron is missing, and these holes are positively charged. Similarly, silicon is mixed with phosphorus, which has one more electron in its outer layer than silicon, and when it combines with a silicon atom, it has one more electron than silicon, and that extra electron, which does not form a covalent bond, is more free and becomes a free electron, which can lead to an excess of negative charge.

6.Working process of solar panel
Solar panels, also known as photovoltaic panels, work based on the photovoltaic effect. Simply put, when sunlight hits the surface of a solar panel, photons interact with atoms or electrons in a semiconductor material such as silicon. If the photons are energetic enough, they can excite the electrons in the atoms to form free electrons, which in turn generate an electric current in the material. This process realizes the conversion of light energy to electrical energy.
Specifically, solar panels consist of multiple solar cell units that are typically connected in series or parallel to increase the overall output voltage or current. Each cell unit contains a P-type semiconductor (hole-rich) and an N-type semiconductor (electron-rich), between which a PN junction is formed by a specific process. When sunlight hits the PN junction, photons are absorbed by the semiconductor material and their energy is transferred to electrons, forming electron-hole pairs. The electrons and holes are separated by the built-in electric field and flow through the metal lattice to the external circuit, forming an electric current.
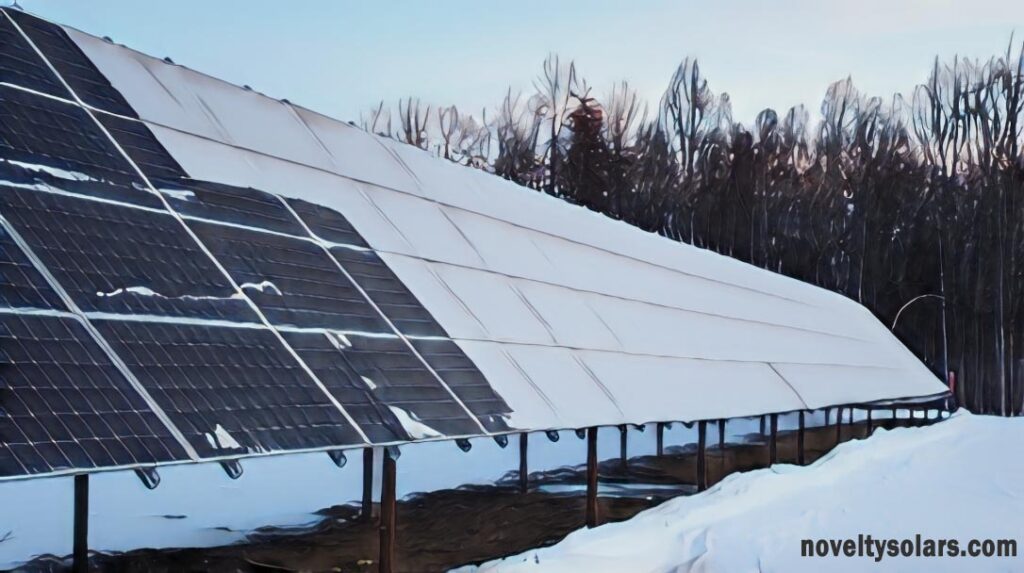
Although the working principle of solar panels may seem simple, their performance is affected by a number of factors, of which light intensity is a key factor. However, if there is dust, dirt or other impurities on the surface of the solar panel, it can reduce the transmission of light, which in turn affects the amount of light absorbed by the solar panel. This not only leads to a reduction in power generation, but also creates a “hot spot effect”, i.e. the formation of high temperature spots in a localized area, which in severe cases can even lead to spontaneous combustion, destroying the equipment.
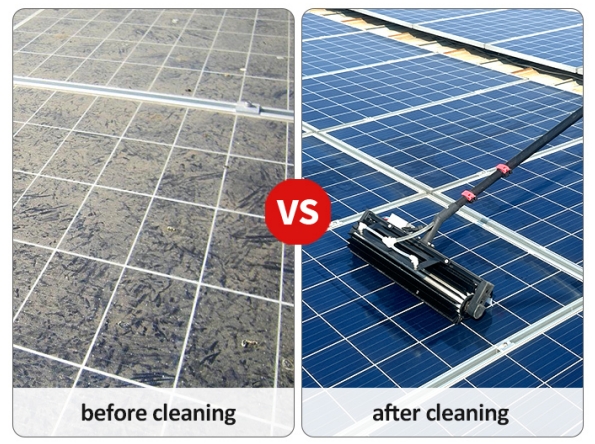
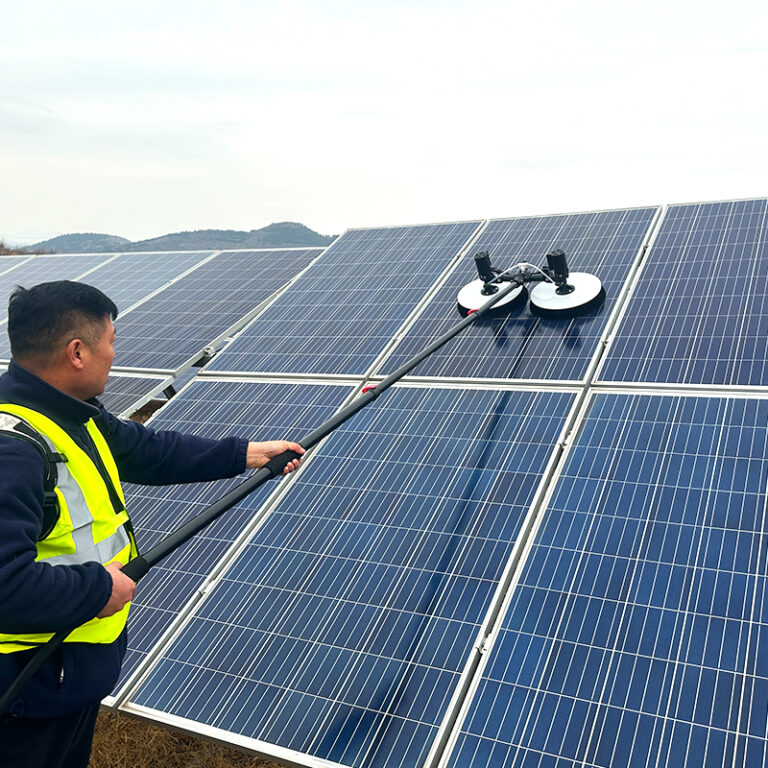
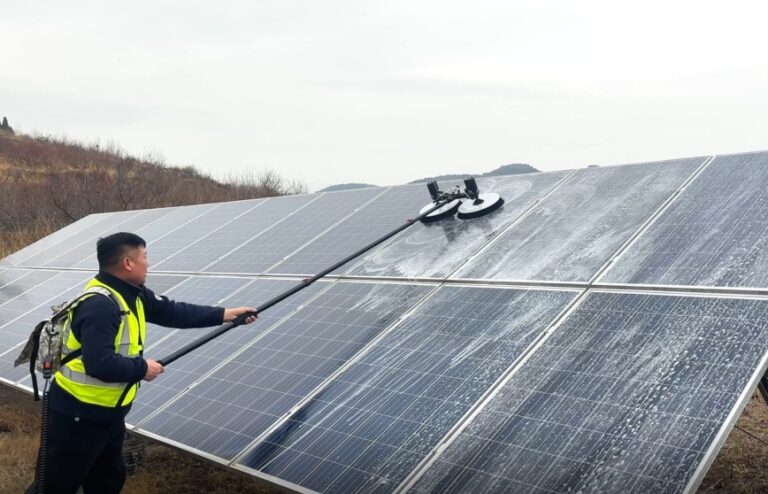
Regular cleaning of solar panels is therefore essential. In order to accomplish this task efficiently, a solar panel cleaning brush is an indispensable tool. Specially designed PV panel bristle cleaning brushes can easily remove dirt adhering to the surface of solar panels, ensuring that their surfaces remain clean, thus maximizing the absorption of sunlight and increasing power generation.
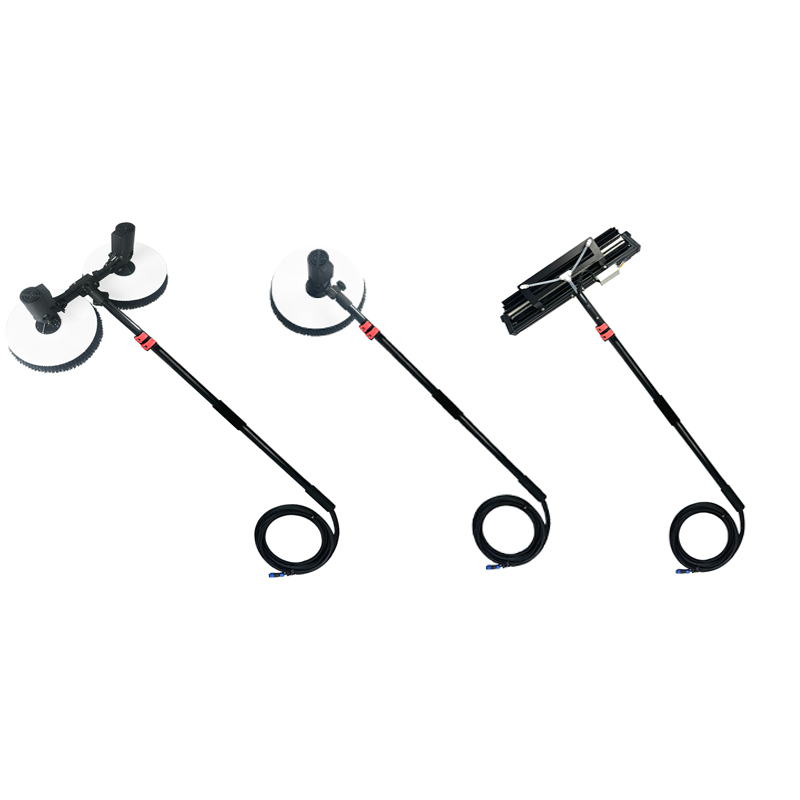
When choosing a solar panel cleaning brush, the quality and material of the brush filament should be prioritized. High-quality photovoltaic brush filaments, such as nylon bristle filaments made of pure material, have a soft texture, good flexibility and strong resilience, and will not scratch expensive photovoltaic panel equipment during the cleaning process. In addition, it should also be designed into a suitable shape according to the cleaning equipment, such as rotating brush and roller brush, to adapt to the cleaning needs in different scenarios.
common problems
Do solar panels have to operate at high temperatures?
No,although solar panels produce more electricity in the summer, a phenomenon that might lead one to believe that they need warmer conditions to work, this is not the case – except that stronger sunlight tends to come along with warmer temperatures. In fact, solar panels become less efficient when temperatures are too high (or too low).
What is the lifespan of a solar panel?
Most solar panels have a conventional lifespan of between 25 and 30 years. Most manufacturers offer a warranty within this period, usually a 25-year guarantee.
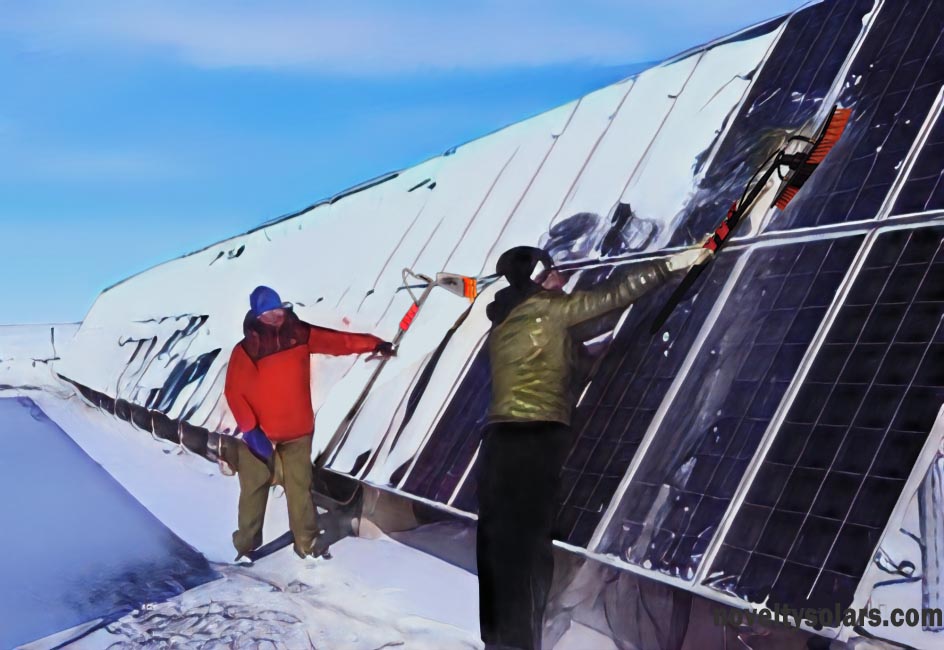
Does not cleaning solar panels affect the efficiency of power generation?
Yes,once scale is formed, it becomes quite difficult to remove, which can significantly weaken the power generation efficiency of PV modules and may even cause serious problems such as hot spots on PV cells.
What is the best brush for cleaning solar panels?
A cleaning brush with a long shaft and soft bristles is usually used to clean solar panels without scratching or damaging the panels. Shorter brushes make it difficult to reach distant places.
know more
Conclusion
Solar panels are revolutionizing the way we consume energy as an energy conversion device. However, in order to ensure that they continue to work efficiently, we must pay attention to the cleaning and maintenance of solar panels. Solar panel cleaning brushes, as an important tool in this process, not only increase the amount of power generated, but also extend the life of the solar panels. Therefore, purchasing a high-quality solar panel cleaning brush is certainly a wise choice for those who wish to make the most of their solar energy resources.